
Build ongoing campaign for outbound bot
Available on the Business plan and above
Sometimes, outbound bots need to reach out to contacts automatically based on a trigger action originating from a third-party system. Hence, making your outbound bot active all the time to cater to such incoming requests.
What can you do with ongoing campaigns?
Well, you can run any kind of campaign as long as you have the list of customers present in your CRM and a template for the promotion or engagement that you want to send.
Some of the most common use-cases for ongoing campaigns include;
* Transactional messages- * Feedback Survey
- * Product Announcements
- * Invoices
- * Product offers
- * Monthly newsletters
- * Onboarding or Welcome messages
What are prerequisites for an ongoing campaign?
* WhatsApp Business API or SMS API- * Configuring these channel APIs on i-genie
Setting up an ongoing campaign:
The outbound bot in an ‘Ongoing’ campaign requires you to perform the following to begin its workflow,
* Creating an outbound bot- * Invoking the web-hook
- * Saving the data into variables
- * Deploying the bot
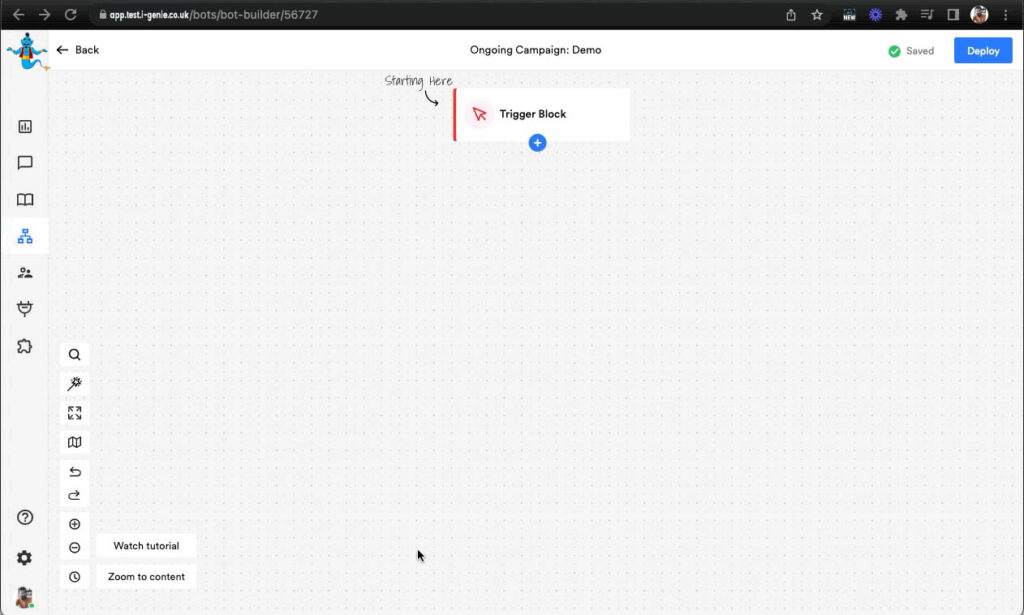
Creating an outbound bot:
To create the outbound bot for running on going campaign, you can follow the following steps
* Click on ‘Build a bot’- * Select ‘Build an outbound bot’
- * Select ‘Ongoing’ as your campaign type

You can even choose ‘One-off’ if you plan to only send the message to those contacts once.
Invoking the web-hook:
In order to run the campaign, you will need to call the i-genie’s web-hook URL and pass the data that is to be used while sending the campaign.
Some of the tools through which you can invoke the web-hook URL:
* Via your system- * Zapier
- * Make.com
- * Postman
Things required for invoking the web-hook:
* Web-hook URL- * Authorization Token
- * Third party tools like Postman, Zapier, Make.com etc..
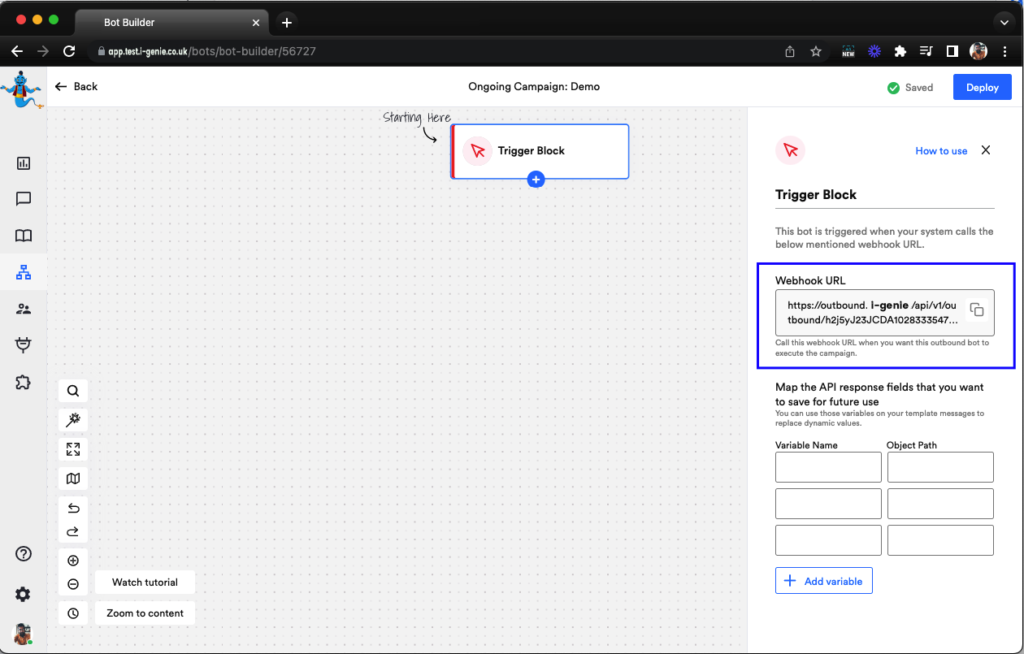
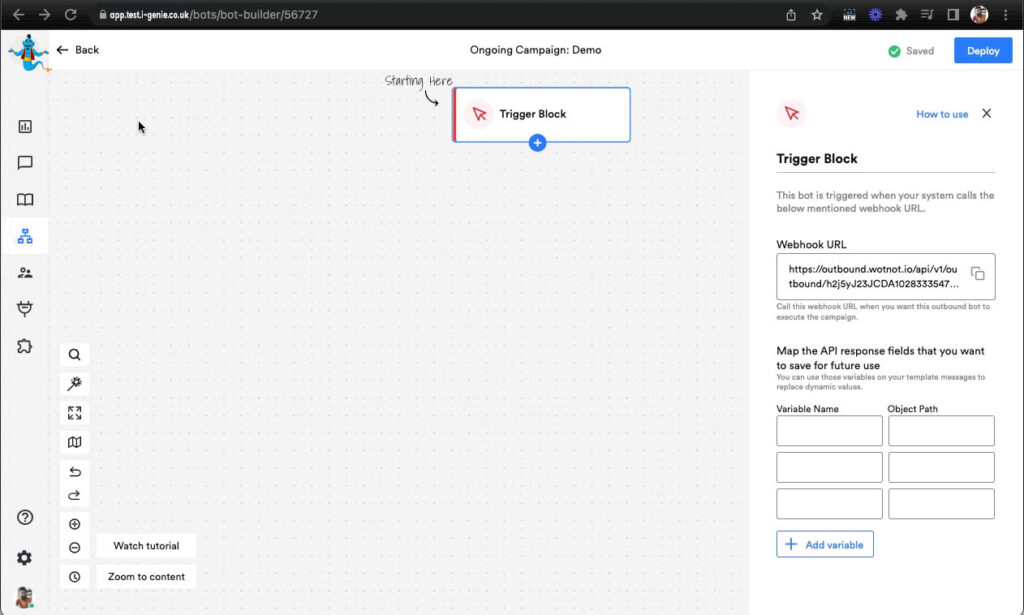
Web-hook URL:
You will be able to find the web-hook URL from the ‘Trigger’ action block
Authorization Token:
To access the authorization token, go to ‘Settings > Account > Details’
Invoking web-hook URL:
Let’s suppose you are using Postman to invoke the web-hook, here are the steps you would need to perform.
- * Create a new request
- * Select the request type as ‘Post’
- * Paste the web-hook URL against it
- * Go to ‘Headers’ & configure the following
Key: Authorization
Value: Bearer ‘Token ID’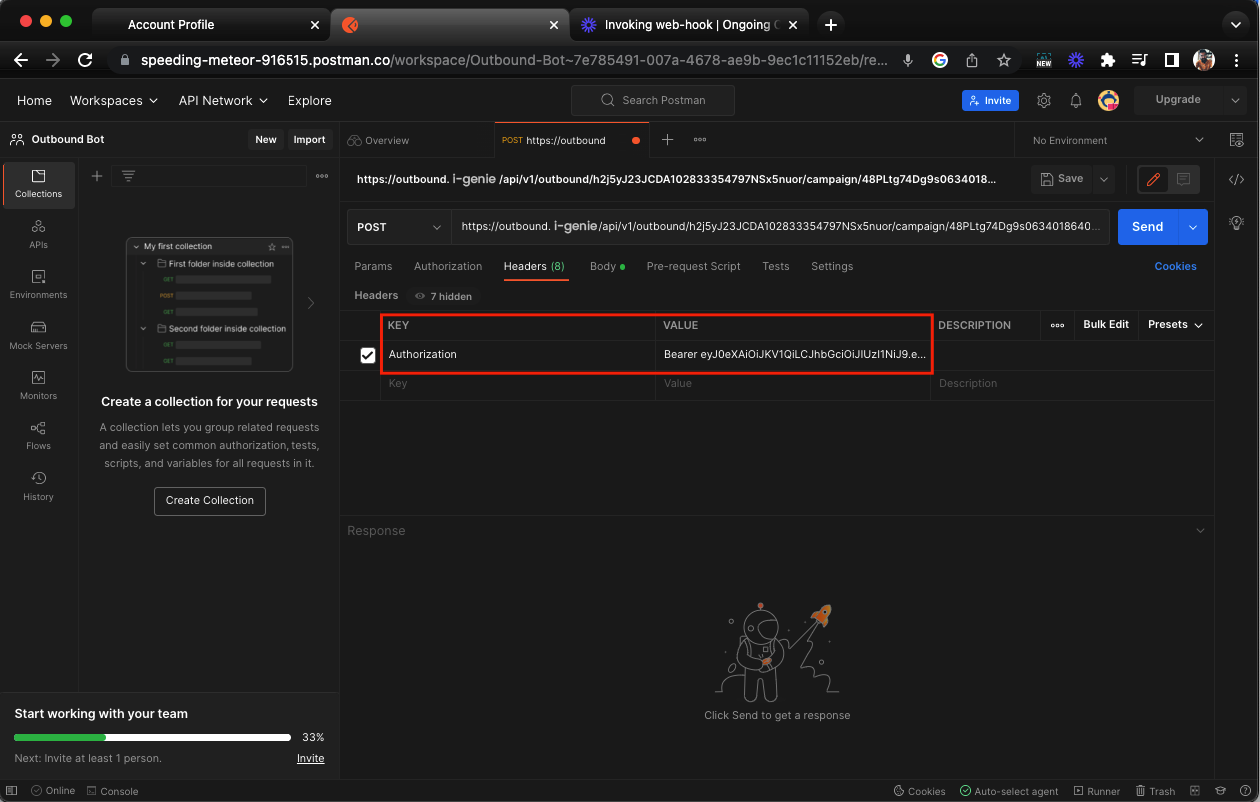
Go to ‘Body > raw > JSON’
Paste the following snippet in the body section
In case the message needs to be sent to just one recipient
[
  	{
	"name": "Nick Grey",
	"phone": "918181818181",
	"email": "nick@i-genie.co.uk"
	 }
	]
In case the message need to be sent to multiple recipient
[
	{
	"name": "kane Mcgrath",
	"phone": "918181818181",
	"email": "kane.Mcgrath@i-genie.co.uk"
	},
	{
	"name": "Shaun Williams",
	"phone": "918153939596",
	"email": "shaun.williams@i-genie.co.uk"
	}
]
You can send message to 10,000 contacts in single request
* Click on ‘Send’ to invoke the campaign
Saving the data into variables:
In order to successfully send the messages to your contacts, first you need to save the contacts on i-genie. We do that by saving the response received on the web-hook into variables on the ‘Trigger’ action block.
You can create the variables and map it with the object path under the API response fields. These variables can be used while creating templates for dynamically replacing it with actual values, similar to mail merge.
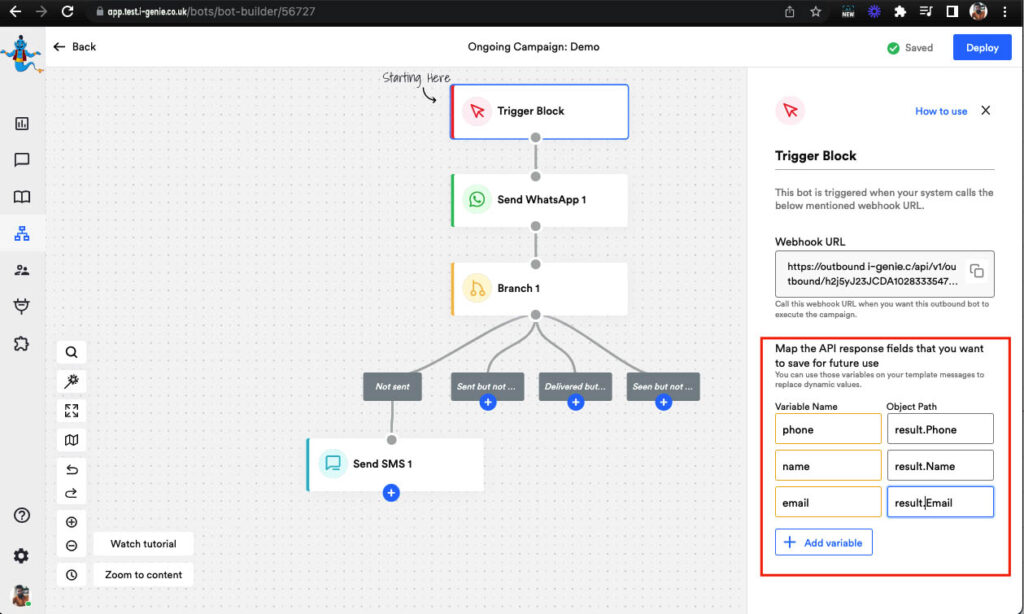
One of the most important factors to be addressed is that the variable that will be used as a phone number needs to be correctly mapped with a field that contains the phone number
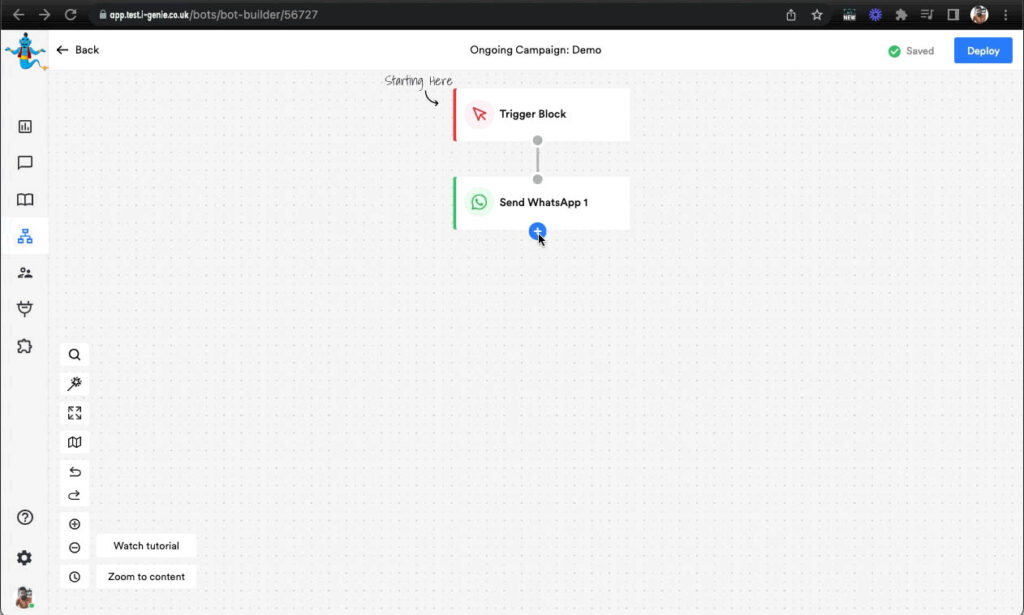
Deploying the bot:
Once the configuration is completed, you can follow the following steps to build the bot
Add ‘Send WhatsApp’ or ‘Send SMS’ action block on canvas by clicking on ‘+’
Select “Send WhatsApp’ or ‘Send SMS’

Configure it on the right panel
From: Select the phone number from which the message needs to be sent
To: Select the variable that is mapped with the phone number
Template: Select the template that needs to be sent

Choose what happens if the message is ‘Not delivered’ or not ‘Read’
As per your preference, you can add ‘Branch’ action block to define the action that the bot needs to take in case the message is not delivered to your contact or they have not read it
Click on ‘Deploy’ to run the campaign
